How to Unfreeze Pipes Safely and Prevent a Burst Pipe
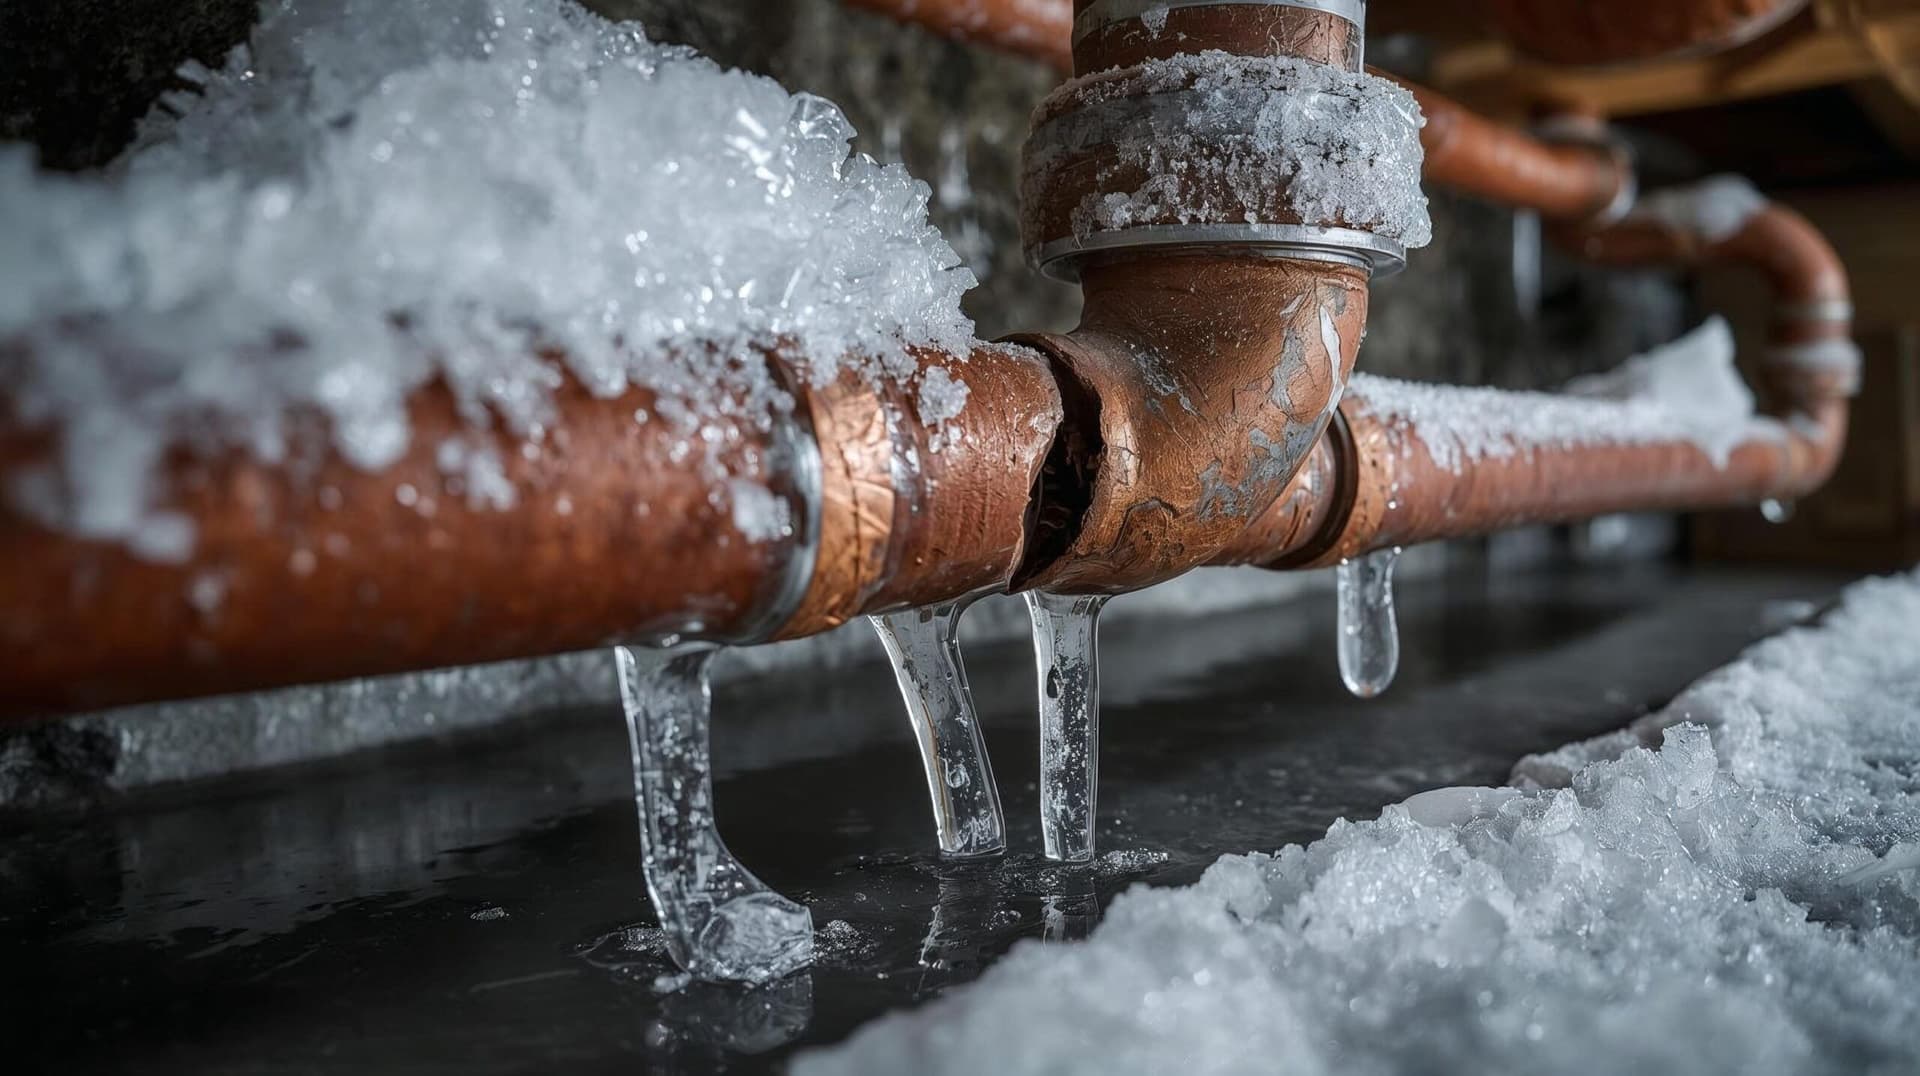
Frozen pipe and no water? Here is how to find the frozen section, thaw it safely step by step, and know when to stop and call a plumber or a restoration crew.
You turn on the faucet on a cold morning and nothing comes out. Or worse, just a weak trickle. When the temperature has spent the night in the teens, that silence usually means one thing: a section of pipe somewhere in the house has frozen solid.
A frozen pipe is urgent, but it is not yet a disaster. The disaster comes if the ice splits the pipe and nobody is around when it thaws. Handled in the right order, most frozen pipes can be thawed safely with tools you already own. This guide covers how to spot a frozen pipe, what to do in the first 30 minutes, the safe thawing method step by step, and the point where you should stop and call a professional.
Signs Your Pipes Are Frozen (and How to Find the Frozen Section)
Pipes freeze in predictable places: along exterior walls, in unheated basements and crawl spaces, in attics and garage walls, and under kitchen sinks that sit on an outside wall. The signs to look for:
- Little or no water comes from one faucet while the others still work.
- Frost is visible on an exposed pipe.
- A section of pipe looks slightly bulged or swollen.
- One stretch of pipe feels much colder than the sections around it.
- You notice a cold spot on a wall where a pipe runs behind it.
- A drain or faucet gives off an odd smell, which can happen when ice blocks the line.
To find the frozen section, turn on faucets one at a time. The faucet that does not run tells you which branch is frozen. Then check the most exposed parts of that run first: the exterior wall, the crawl space, the attic. Feel along any pipe you can reach. The frozen section is usually the coldest part, and it is often right where the pipe passes through an uninsulated spot.
One more test helps before you start: if every faucet in the house is dead, the freeze is likely in the main line where water enters the home. If only one faucet or one bathroom is affected, the frozen section is on that branch, usually close to an outside wall. Knowing which case you are in saves you from thawing the wrong end of the house.
What to Do in the First 30 Minutes
The first half hour matters because a pipe that is frozen but intact can still be saved, and a pipe that has already split needs the water shut off before the thaw turns into a flood. Work through these steps first:
- Open the affected faucet and leave it open. This relieves pressure as the ice melts and gives the meltwater somewhere to go.
- Find your main water shut-off valve now, before you need it in a hurry. It is usually where the water line enters the house, in the basement, a utility room, or near the meter.
- Check every other faucet in the house so you know whether one pipe is frozen or several.
- Inspect any pipe you can reach for bulges, cracks, or frost. If you see a bulge or a split, shut the water off at the main right away and skip to the burst pipe section below.
- Put towels, a bucket, and a mop near the work area so a leak does not spread while you thaw.
- Warm the room. Turn the thermostat up a few degrees and open cabinet doors under sinks so warm air reaches the pipes.
How to Thaw a Frozen Pipe Safely, Step by Step
For an exposed pipe with no bulge or crack, this is the method plumbers and restoration crews recommend:
- Keep the faucet open the whole time you work.
- Start thawing at the end closest to the faucet and work back toward the frozen section. Melting ice needs an escape path. If you thaw from behind the blockage, trapped water and steam can build pressure and split the pipe.
- Apply gentle heat with a hair dryer on a medium setting, a heating pad wrapped around the pipe, a space heater placed nearby (not touching anything), or towels soaked in hot water and wrung out.
- Keep the heat moving. Sweep a hair dryer slowly back and forth instead of parking it on one spot.
- Never use an open flame. No blowtorch, no propane heater, no charcoal. Flame can scorch the pipe, boil the water inside it, and start a fire inside a wall you cannot see.
- As the ice melts, water will start to trickle from the faucet. Keep going until full, normal pressure returns.
- Once flow is back, inspect the entire run for leaks and drips. Check again over the next few hours, because a small split may only weep under pressure.
An exposed pipe usually thaws in 30 minutes to a few hours. Let the faucet drip lightly for the rest of the cold snap if the same pipe is likely to freeze again overnight.
If two hours of steady heat produce no trickle at all, stop and reassess. The frozen section may be longer than you thought, hidden inside a wall, or the pipe may already be split and leaking somewhere you cannot see. Check the basement and crawl space for water before you keep heating. A pipe that will not thaw is one of the clearest signs it is time to call a plumber rather than push on.
Thawing Pipes You Cannot Reach: Walls, Ceilings, and Underground
Heat works through drywall too, just slower. Raise the house temperature, close off the room if you can, and aim a space heater at the wall where the pipe runs, keeping it a safe distance away. Given a few hours, warm air often thaws a pipe behind a wall without opening anything up.
A cheap infrared thermometer helps here. Scan the wall slowly: the frozen section usually reads several degrees colder than the wall around it, which tells you where to aim the heat and, if it comes to it, where a plumber should open the wall. Pressing an ear to the wall while someone taps the exposed pipe at the other end can also help trace the run.
Do not cut into a wall until the water is shut off and you have a good idea where the pipe runs. Cutting blind can nick the pipe itself or electrical wiring and turn one problem into three. If the pipe stays frozen, a plumber can open a small access point or use electric pipe thawing equipment.
A frozen underground service line is not a DIY job at all. That call goes to a plumber or your water utility. The same applies when several fixtures are out at once, when you cannot find the frozen section, or when the same pipe freezes every winter: the fix is access and insulation, not more heat.
If the Pipe Already Burst: Stop the Water Damage First
A burst pipe changes the job completely. Thawing no longer matters; stopping and removing the water does.
- Shut off the main water valve immediately.
- If water is near outlets, appliances, or the electrical panel, switch off power to that area at the breaker, only if you can do it without standing in water.
- Open faucets to drain what is left in the lines.
- Take photos and video of the damage before you move anything. Your insurance claim will need them.
- Move furniture, boxes, and rugs out of the water if you can do it safely.
- Mop and towel up what you can, then call a water damage restoration company for extraction and drying.
Here is the part most homeowners do not hear until it is too late: mold can begin growing within 24 to 48 hours of a burst. The pipe repair takes a plumber an hour or two. The drying is what decides whether you also lose drywall, flooring, and cabinets. Speed on extraction and drying matters more than anything else after the water is off.
DIY Thaw vs Plumber vs Restoration Crew
Not sure whose problem this is? Use the signs:
- One faucet affected, pipe is exposed and reachable, no bulge or crack: safe to thaw it yourself with the steps above.
- Frozen section is behind a wall or ceiling, or you cannot find it: call a plumber.
- Several fixtures out at once, frozen underground line, or the same pipe freezes every winter: call a plumber.
- Bulge, split, active leak, or a new stain spreading on a ceiling: shut the water off, then call a plumber for the pipe and a restoration crew for the water.
- Standing water, soaked floors, or wet drywall: call a restoration crew for extraction and drying.
- You came home to damage that has been sitting for a day or more: call a restoration crew. Mold risk is now part of the job.
In many burst pipe jobs, both trades are involved: the plumber fixes the pipe, and the restoration crew removes the water and dries the structure. Neither replaces the other.
How to Keep Pipes From Freezing: The Prevention Checklist
Pipes are most at risk when temperatures fall to 20 degrees or below and stay there for hours. Most freeze damage is preventable with an hour of work in the fall:
- Insulate exposed pipes in the basement, crawl space, attic, and garage. Foam sleeves are cheap and take minutes to fit.
- Add electric heat tape or a heat cable to the most vulnerable runs, following the manufacturer instructions exactly.
- Seal the drafts that chill pipes: foundation cracks, gaps around sill plates, and holes where pipes leave the house.
- On nights heading below 20 degrees, open cabinet doors under sinks on exterior walls so warm room air reaches the pipes.
- Let vulnerable faucets drip a thin stream, about the width of a pencil lead, on the coldest nights. Moving water resists freezing.
- Keep the thermostat at 55 degrees or above, including overnight and when you travel. A steady temperature protects better than daytime warmth and cold nights.
- Disconnect garden hoses before the first freeze, shut the inside valve to outdoor faucets, and open the outside tap to drain what is left.
- Keep garage doors closed, especially if water lines run through the garage walls or ceiling.
- Going away in winter? Shut off the main water and drain the lines, or have someone check the house every day. Most catastrophic bursts happen in empty homes.
A note for Texas homes
Texas houses freeze differently. Because hard freezes are rare, builders often run pipes through attics and exterior walls with little insulation, and slab foundations hide leaks until the damage is done. During a Texas freeze, attic pipes are the first to go. The same rules apply: drip the faucets, open the cabinets, and insulate what you can reach in the attic. After a thaw, walk the house and listen. Running water sounds when nothing is on, a warm spot on a slab floor, or a water bill that jumps can all point to a hidden slab leak.
What a Burst Pipe Really Costs When You Wait
The numbers explain why the first 30 minutes matter. A crack as small as an eighth of an inch can leak about 250 gallons of water a day. A fully burst line can release 10 gallons or more every minute, so a single unattended hour can put around 600 gallons inside your house.
Crews see the same pattern every cold snap in the Ohio Valley: an unoccupied home, a weekend freeze, a pipe split inside an exterior wall. By the time anyone walks in, water has wicked up the drywall, buckled the flooring, and soaked the insulation, and mold is starting in the wall cavity. What gets saved and what gets torn out depends almost entirely on how many hours the water ran and how fast drying started. The pipe itself is the cheapest part of the whole job. The water is the expensive part, and every hour adds to the bill.
Put the other way: a pipe caught frozen and thawed in time usually costs nothing but an afternoon. The same pipe, burst and left over a weekend, can mean water extraction, days of commercial drying, torn out drywall and flooring, mold remediation if the 48 hour window passed, and then the rebuild. That gap, from free to a five figure restoration job, is decided by response time, not by the pipe.
Frequently Asked Questions
What temperature do pipes freeze at?
There is no single number, because insulation, pipe location, and wind all matter. The risk climbs sharply when temperatures fall to 20 degrees or below for several hours. Pipes on exterior walls and in unheated spaces freeze first.
How long does it take to thaw a frozen pipe?
An exposed pipe usually thaws in 30 minutes to a few hours with a hair dryer or heating pad. A pipe behind a wall takes longer, because the heat has to work through the drywall.
Can a frozen pipe thaw on its own?
It can, if the weather warms up. The risk is that you are not watching when it happens. If the ice split the pipe, it starts leaking the moment it thaws. A controlled thaw, with you present and the faucet open, is the safer route.
Will a frozen pipe always burst?
No. Many frozen pipes thaw with no damage at all. But ice expansion can split a pipe or push a fitting loose, which is why you should inspect the full run for leaks after any freeze, even if the water seems fine.
Does homeowners insurance cover a burst pipe?
In most policies, yes for the burst itself: sudden and accidental water damage from a frozen pipe that bursts is typically covered, including the resulting water damage. Gradual leaks and damage from poor maintenance typically are not. Document everything with photos before cleanup, and check your own policy wording, because coverage varies.
How do I know if a pipe burst behind a wall?
Look for a spreading water stain, bubbling or peeling paint, a musty smell that was not there before, the sound of running water when nothing is on, or a sudden drop in water pressure. Any of these after a freeze deserves a professional look before the wall cavity grows mold.
Is it safe to use a space heater to thaw a pipe?
Yes, with distance and supervision. Keep the heater at least a few feet from the pipe and anything flammable, never leave it running unattended, and do not let it blow directly on one spot for hours. A hair dryer or heating pad gives you more control. The methods to avoid completely are open flames and high heat torches, which cause a large share of winter house fires.
If a pipe has already burst, or you are standing in water, do not wait on a thaw. Shut the water off and call Americon Restoration. Our crews respond around the clock across the Ohio Valley, Cleveland, Pittsburgh, and the Dallas-Fort Worth area for emergency water removal and drying.